
How To Take Golf Lessons Online
Unless you live in a lucky location like Arizona or Florida, the outdoor golf season is short. You love playing the game but find it impossible to improve with such a short window of opportunity. The truth is that an excellent summer of golfing starts with a solid practice routine year-round. The good news? You can achieve this even in the coldest of climates with the help of online golf lessons.
I’ve been an online golf instructor via the Skillest app for several years now and with 4.9 stars and over 968 ratings, it’s safe to say I have helped hundreds of my student’s game in the off-season with golf lessons online. Every single one of my online golf lessons are tailored to meet the individual needs of each student. I create customized, detailed video responses based on the student's level of experience, skill, and goals, which is much more effective than a one-size-fits-all approach. On top of that you don’t have to worry about blocking off your calendar, rushing to pick up the kids or finding a time that works for you on the instructor’s availability – you can fit your lessons into your busy schedule and avoid having to take time off work or other commitments that may be required to attend an in-person lesson. In my eyes, online golf instruction is a win-win.
Now that you’ve decided to take a golf lesson online, you may feel daunted by the task of creating your at-home setup and filming yourself properly. Don’t fret – I’ve created a list of things you’ll need to take an online golf lesson as well as a tutorial (and video!) of filming yourself below.
EQUIPMENT NEEDED
Smartphone with the Skillest app downloaded
Your golf gear (clubs, balls, etc.)
Access to a range OR an at-home setup which should include:
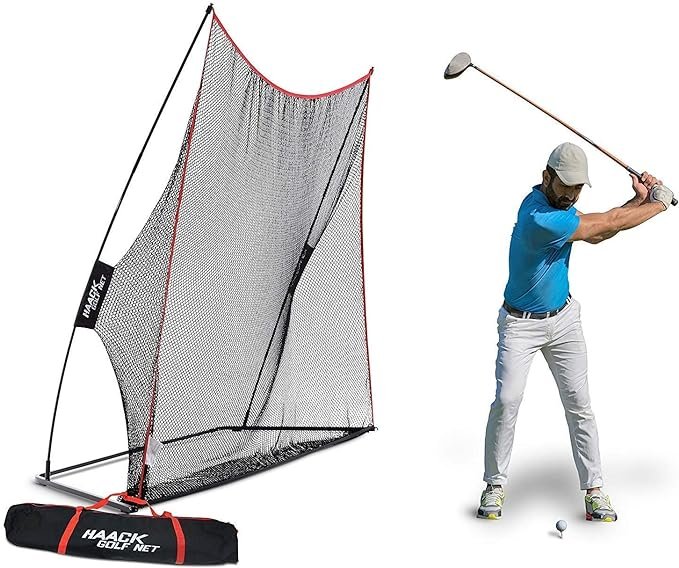
HITTING NET
My favorite net is from Rukket (pictured). It’s affordable and durable – I have one in my backyard and only replace it every few years after too much AZ sun exposure (if you know, you know.)

GOLF MAT
Pictured is my favorite mat made by Real Feel Golf Mats. The painful truth is that a solid mat is going to be one of the more pricier items you purchase and while you can find cheaper options online, you may find they aren’t as stable and therefore will negatively affect your golf swing with unnecessary movement/motion.

TRIPOD
Because I lug around my tripods everywhere I go, I prefer a more solid product like Manfrotto, but for filming in/around your house, you can go with a more affordable option like the Joilcan pictured above which already includes a phone mount holder for you.

ALIGNMENT STICKS
These are optional (you can use something on-hand like a yardstick instead) but these are one of my most often used golf tools and I would highly recommend purchasing them as they can be quite helpful with many drills I provide.
FILMING YOURSELF
You will film two angles of your swing to send to me: down-the-line and face-on. For both angles, the camera should be positioned approximately 10-12 feet away from the golfer and waist-high off the ground. The camera should always be in-line with the golfer's hands, NOT the golf ball.
Down-The-Line: This angle faces towards the target (this is either your at-home hitting net or the driving range).
Face-on: This angle faces towards the front of the golfer's body. If your driving range does not provide adequate space for the face-on angle, using the 0.5 zoom on your camera is acceptable in order to get your whole body/swing in the shot.
VIDEO TUTORIAL
I’ve created this short, one-minute YouTube video to help guide you through everything from setting up your Skillest account to properly filming the required angles mentioned above.
Note: When you buy through links on my site, I may earn an affiliate commission. I only share things I 100% use every day and believe in. Thank you so much for your support!